

Installing Stone Steps: A Complete Guide
Creating stone steps is a timeless way to enhance outdoor spaces. Stone steps offer durability, natural beauty, and a sense of permanence that few other materials can match. Whether you want to improve access to a garden, patio, or hillside, installing stone steps can transform your landscape. This guide walks you through the entire process, from planning to finishing touches, ensuring your project is both successful and long-lasting.
Planning and Preparing for Installing Stone Steps
Before you begin installing stone steps, careful planning is essential. Start by assessing the location where the steps will go. Consider the slope, soil type, and drainage. These factors influence the design and materials you choose.
Measure the total rise - the vertical height from the bottom to the top of the steps. Divide this by the desired step height, usually between 6 and 8 inches, to determine the number of steps needed. Next, calculate the tread depth, which is the horizontal part of each step. A comfortable tread is typically 12 to 14 inches deep.
Select the type of natural stone that suits your style and environment. Popular choices include flagstone, slate, granite, and limestone. Each stone has unique colors, textures, and durability. Make sure the stone is thick enough to support foot traffic and outdoor conditions.
Gather all necessary tools and materials before starting. You will need:
Shovel and pickaxe for excavation
Level and measuring tape
Gravel and sand for the base
Mortar or concrete mix (optional, depending on installation method)
Stone adhesive or construction adhesive
Rubber mallet and chisels for shaping stones
Safety gear such as gloves and eye protection
Proper preparation ensures a smooth installation process and a sturdy final product.
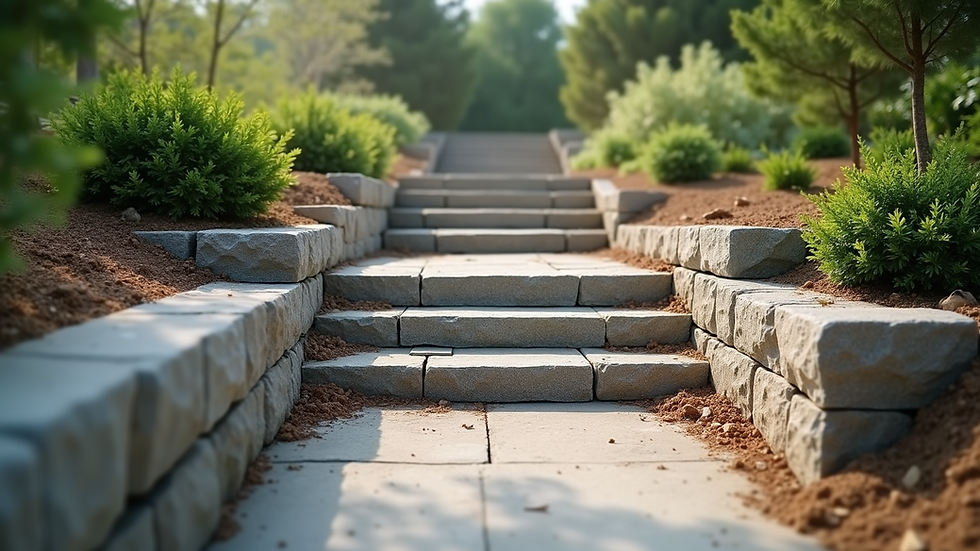
Tips for Installing Stone Steps Successfully
Installing stone steps requires attention to detail and patience. Here are some practical tips to help you achieve professional results:
Excavate Carefully: Dig out the area to a depth that accommodates the base material and the stone thickness. A stable base prevents shifting and settling over time.
Create a Solid Base: Lay a 4 to 6-inch layer of compacted gravel or crushed stone. This layer provides drainage and stability. Use a tamper to compact the base firmly.
Use a Level Frequently: Check the level of each stone as you place it. Uneven steps can be hazardous and look unprofessional.
Fit Stones Snugly: Arrange stones so they fit tightly together. Use a chisel and hammer to shape stones if necessary. Avoid large gaps that can collect dirt or cause instability.
Consider Mortar or Dry-Stacking: Mortar adds strength but requires curing time. Dry-stacking allows for natural drainage and easier repairs. Choose the method that best suits your project and climate.
Slope the Treads Slightly: A slight forward slope (about 1/8 inch per foot) helps water drain off the steps, reducing slipperiness and damage.
Plan for Drainage: Ensure water does not pool around the steps. Incorporate drainage channels or gravel-filled gaps if needed.
Following these tips will help you build stone steps that are both beautiful and durable.
How to install natural rock steps?
Installing natural rock steps involves several key steps that combine craftsmanship with practical construction techniques. Here is a step-by-step guide to help you through the process:
Step 1: Mark the Layout
Use stakes and string to outline the path of the steps. Mark the location of each step with spray paint or chalk. This visual guide helps maintain consistent spacing and alignment.
Step 2: Excavate the Step Area
Dig out the soil to the required depth for each step. The depth should include the base material and the thickness of the stone. Remove roots, rocks, and debris to create a clean working area.
Step 3: Build the Base
Add a layer of compacted gravel or crushed stone to the excavated area. This base supports the stones and promotes drainage. Use a tamper to compact the base firmly.
Step 4: Place the Stones
Start with the bottom step and work upward. Lay each stone carefully, checking for level and stability. Use a rubber mallet to tap stones into place. If necessary, shape stones with a chisel to fit snugly.
Step 5: Secure the Stones
Depending on your chosen method, apply mortar or stone adhesive between stones. For dry-stacked steps, ensure stones are tightly fitted and stable. Allow mortar to cure according to manufacturer instructions.
Step 6: Fill Gaps and Finish
Fill gaps between stones with sand, gravel, or mortar. Sweep the surface clean and check for any loose stones. Add soil or mulch around the steps to blend them into the landscape.
Step 7: Test the Steps
Walk up and down the steps to ensure they feel secure and comfortable. Make any necessary adjustments before finalizing the installation.
This methodical approach ensures your natural rock steps are safe, functional, and visually appealing.

Maintenance and Longevity of Stone Steps
Proper maintenance extends the life of your stone steps and keeps them looking their best. Here are some maintenance tips:
Regular Cleaning: Sweep debris and dirt off the steps regularly. Use a garden hose or pressure washer for deeper cleaning, but avoid high pressure that can damage mortar.
Inspect for Damage: Check for loose stones, cracks, or shifting. Address issues promptly to prevent further damage.
Reapply Joint Material: If you used sand or gravel between stones, replenish it as needed to maintain stability.
Seal the Stone: Applying a stone sealer can protect against stains, moisture, and weathering. Choose a sealer appropriate for your stone type.
Control Vegetation: Remove weeds and moss that can grow between stones and cause slipping or damage.
By following these maintenance practices, your stone steps will remain safe and attractive for years.
Enhancing Your Outdoor Space with Stone Steps
Stone steps do more than provide access - they add character and value to your outdoor environment. Consider these ideas to enhance your project:
Integrate Lighting: Install low-voltage or solar lights along the steps for safety and ambiance.
Add Plantings: Surround steps with native plants, shrubs, or ground cover to soften edges and create a natural look.
Use Complementary Materials: Combine stone steps with retaining walls, patios, or pathways made from similar materials for a cohesive design.
Incorporate Handrails: For steep or long stairways, add handrails that blend with the natural aesthetic.
Create Curved Steps: Instead of straight lines, design curved steps that follow the landscape contours for a more organic feel.
These enhancements make your stone steps a focal point and improve usability.
For those interested in professional assistance, natural stone steps installation services can provide expert craftsmanship and quality materials to ensure your project meets the highest standards.
Final Thoughts on Installing Stone Steps
Installing stone steps is a rewarding project that combines functionality with natural beauty. With careful planning, proper techniques, and ongoing maintenance, your stone steps will serve as a durable and attractive feature for your outdoor space. Whether you choose to tackle the installation yourself or seek professional help, understanding the process empowers you to make informed decisions and achieve excellent results.
Stone steps create a welcoming path that enhances accessibility and elevates the overall landscape design. Take your time, follow best practices, and enjoy the lasting benefits of this classic outdoor improvement.


Comments