

Installing Natural Stone Steps A Complete Guide
Installing natural stone steps can transform any outdoor space. They add beauty, durability, and functionality to your landscape. Whether you want to improve access to your garden, create a welcoming entrance, or add charm to a commercial property, natural stone steps are a great choice.
In this guide, I will walk you through everything you need to know about installing natural stone steps. From planning and materials to construction and finishing touches, you will get clear, practical advice. I will also share examples of quality products that can help you achieve the best results.
Planning Your Natural Stone Steps Project
Before you start digging or laying stones, planning is key. Good planning saves time, money, and effort. It also ensures your steps are safe, stable, and attractive.
Assess the Location and Purpose
First, look at where you want the steps. Consider the slope, soil type, and how the steps will be used. Are they for a garden path, a front porch, or a commercial entrance? The location affects the size, shape, and materials you choose.
Measure and Design
Measure the height you need to cover with steps. Divide this height by the ideal rise of each step, usually between 6 and 7 inches. This gives you the number of steps needed. The tread (the flat part you step on) should be at least 12 inches deep for safety.
Sketch a simple design showing the number of steps, their width, and shape. Think about how the steps will fit with your existing landscape or building.
Choose the Right Stone
Natural stone comes in many types, each with different colors, textures, and durability. Popular choices include granite, limestone, sandstone, and slate. Your choice depends on your style preference, budget, and climate.
For example, granite is very hard and weather-resistant, making it ideal for high-traffic areas. Sandstone offers a warm, earthy look but may require more maintenance.
Preparing the Site for Installation
Proper site preparation is essential for long-lasting steps. It prevents shifting, cracking, and uneven surfaces.
Clear and Level the Area
Remove grass, roots, rocks, and debris from the area where the steps will go. Use a shovel and rake to level the ground as much as possible.
Excavate for the Base
Dig a trench for the base of the steps. The depth depends on the number of steps and soil conditions but usually ranges from 6 to 12 inches. The base must be below the frost line in colder climates to avoid frost heave.
Install a Solid Base
A strong base supports the stones and prevents sinking. Use crushed stone or gravel as a base material. Spread it evenly in the trench and compact it firmly with a tamper or plate compactor.

Natural stone steps base preparation with gravel and compacting tools
Selecting Materials and Tools
Choosing the right materials and tools makes the installation smoother and the final product stronger.
Recommended Products for Stone Steps
Two excellent products to consider are:
Natural Stone Steps by Titan Rockeries and Construction LLC
These steps are crafted from high-quality natural stone, designed for durability and aesthetic appeal. They come in various sizes and finishes to match different styles. You can learn more about their offerings here.
Titan Rockeries Stone Adhesive
This adhesive is specially formulated for outdoor stone projects. It provides strong bonding and weather resistance, ensuring your steps stay in place for years. More details are available here.
Using these products can simplify your project and improve results.
Tools You Will Need
Shovel and rake for site preparation
Level and measuring tape for accuracy
Rubber mallet to adjust stones without damage
Trowel for applying adhesive or mortar
Tamper or plate compactor for base compaction
Safety gear such as gloves and eye protection
Step-by-Step Installation Process
Now that you have planned and prepared, it’s time to install the steps.
Step 1: Lay the Base Stones
Start by placing the largest, flattest stones at the bottom. These form the foundation of your steps. Use a level to ensure each stone is stable and even.
Step 2: Build Up the Steps
Add stones layer by layer, working your way up. Each stone should overlap the one below slightly for stability. Use the stone adhesive or mortar to secure stones in place.
Step 3: Check Alignment and Level
After placing each stone, check that it is level and aligned with the others. Adjust as needed with the rubber mallet.
Step 4: Fill Gaps and Finish
Fill any gaps between stones with gravel, sand, or mortar. This prevents movement and weeds. Clean the surface of the stones to remove dirt or adhesive residue.

Placing natural stone on step with adhesive
Maintaining Your Natural Stone Steps
Proper maintenance keeps your steps looking good and lasting longer.
Clean regularly with water and a soft brush to remove dirt and moss.
Avoid harsh chemicals that can damage the stone.
Inspect for loose stones or cracks and repair promptly.
Seal the stone every few years to protect against stains and weather.
Why Choose Professional Installation Services
While DIY installation is possible, professional services offer several advantages.
Experts ensure proper planning, base preparation, and stone placement.
They have access to quality materials like those from Titan Rockeries and Construction LLC.
Professionals can handle complex designs and challenging terrain.
They save you time and reduce the risk of costly mistakes.
If you want a reliable, beautiful set of natural stone steps, consider hiring a trusted company with experience in outdoor construction.

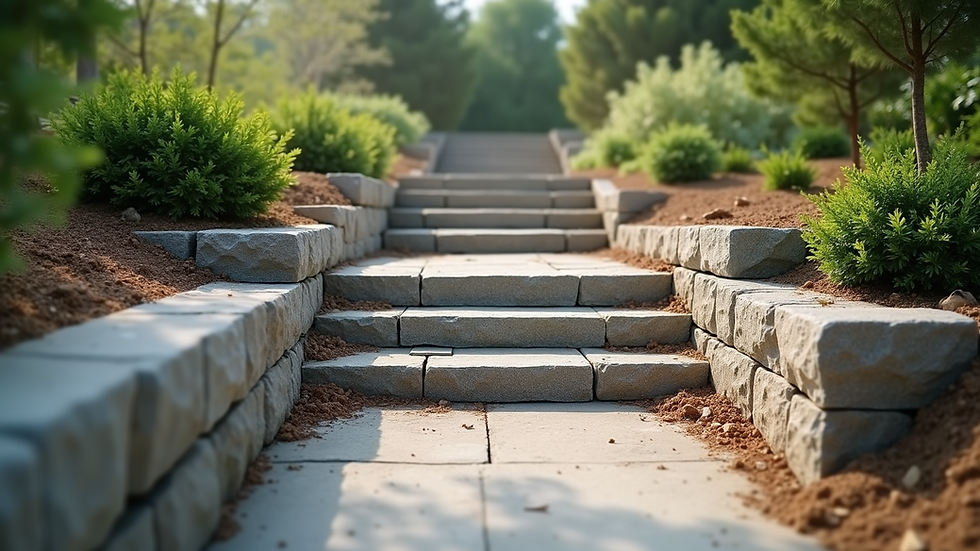
Completed natural stone steps leading to garden
Installing natural stone steps is a rewarding project that adds value and charm to any property. With careful planning, the right materials, and proper installation, your steps will stand strong and look great for years.
If you want expert help or quality materials, check out the natural stone steps and stone adhesive from Titan Rockeries and Construction LLC. Their products and services support durable, beautiful outdoor projects.
For more detailed guidance or professional installation, visit Titan Rockeries and Construction LLC and explore their offerings. Taking the right steps today leads to a stunning outdoor space tomorrow.


Comments